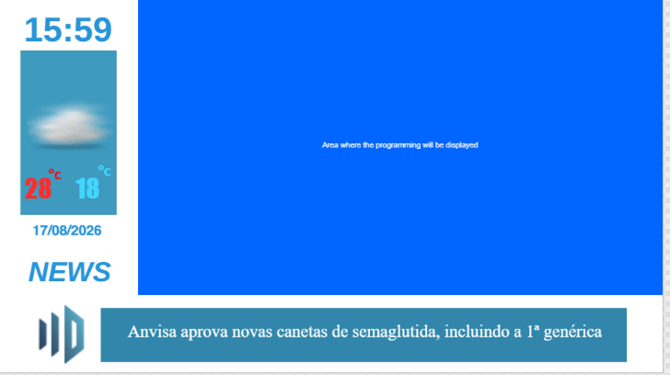
Horizontal Frames
Bottom image: 1920×226 pixels
Left image: 400×1080 pixels
To create a horizontal frame, go into Creative and create the bottom image with dimensions of 1920×226. Design your image according to your needs; Creative allows the use of various creation elements. In the example below, I used a logo and the Insert Square tool.
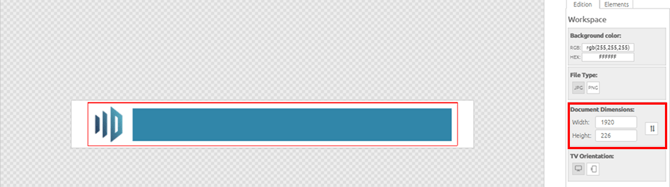
Click Save and Close on the image so it becomes available for future use.
Right after creating the bottom part of the frame, create the left image with dimensions of 400×1080 pixels, designing it according to your needs.
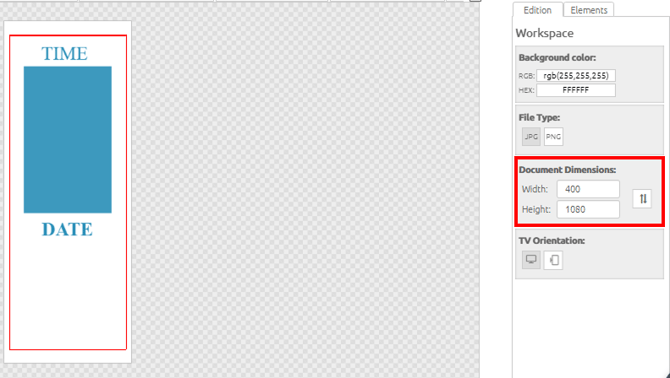
Click Save and Close so that the image is available for future use.
After creating the images to compose the frame, go to the tab Contents > Frames > Creative. Inside the Creative for Frames, click on the Content Stock icon and select one of the available frame models (in this example, I will use the Previsão 1 dia model).
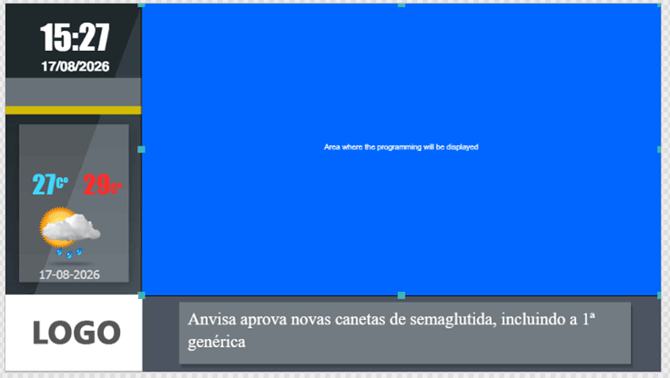
- 1st – Click the Insert Account Image button and choose the bottom image (footer) that you created in Creative:
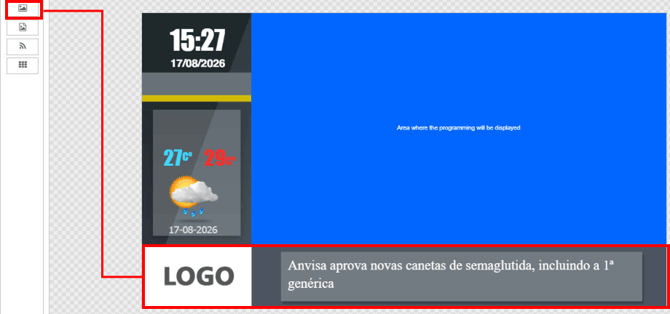
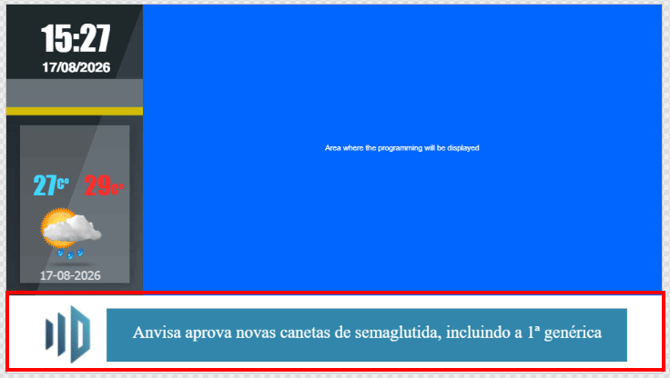
- 2nd – Click the Insert Account Image button and choose the image that will go on the side, which you created in Creative:
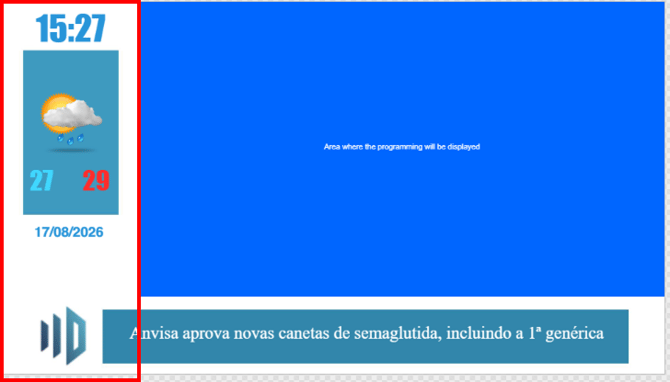
- 3rd – Edit the information you want to display within the frame.
- 4th – You can check the preview of the created frame and adjust it according to your needs. After making adjustments, fill in the Name of your frame and click the Save and Close button.
- 5th – After completing these steps, your frame will be ready to use.