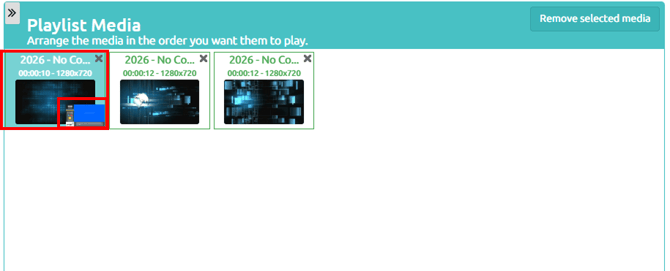
Frames occupy a fixed area on the screen and display various types of information with an attractive appearance, in either vertical or horizontal format. Within a Frame, Templates and Videos are proportionally resized without losing quality or becoming distorted.
Using a Frame allows multiple pieces of information to be displayed at the same time, such as Weather Forecasts, news, and more, providing viewers with more information and better use of the channel’s content.
Adding a Prebuilt Frame
To add Frames, click the following menu path: Content → Frames → Creative.
The Creative screen dedicated to Frame creation will open, and you should click the Content Stock button to open the Prebuilt Frame Gallery:
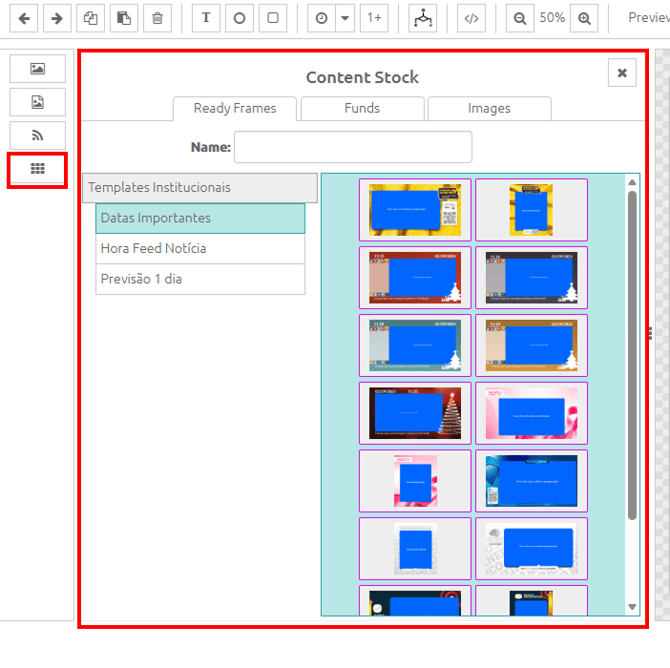
After selecting a Frame, you can customize it starting from a predefined layout.
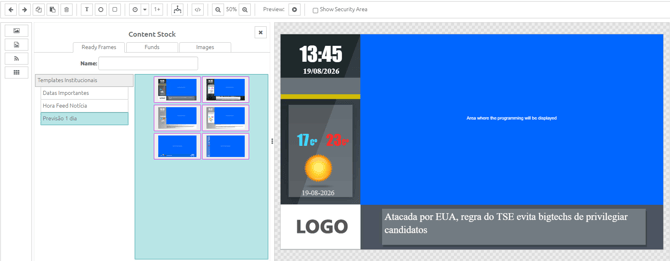
With the Frame selected (e.g., 1-Day Forecast, in the image above), you can edit some of its elements, such as:
Weather Forecast City
Manually select the element that displays the city name in the Frame and enter the name of another city you want to display in the Feed Editing column. This way, you will configure the Weather Forecast in the Frame to display only one city.
Dynamic Weather Forecast
If you have Progic Players installed in different cities and want to create a single Frame for all of them, you can use the "Dynamic City According to Player Location" option.
This setting is also available in the right-hand panel of Creative under Feed Editing.
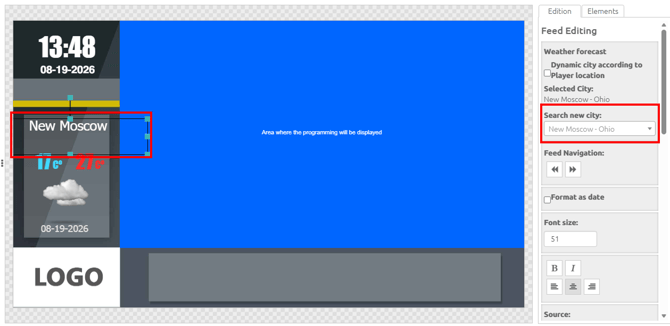
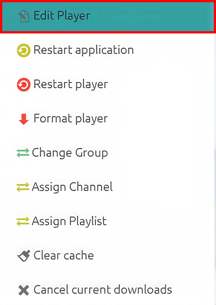
After enabling this option, you can use this Weather Forecast Frame on any Progic Player in your company, provided that each Player has its installation location properly configured. This is a prerequisite for the feature to work correctly. This must be done in the Player Monitoring screen by accessing the settings menu and selecting Edit Player:
You can replace the sample logo included in the Frame with your company's logo. To do so, click the Insert Image button:
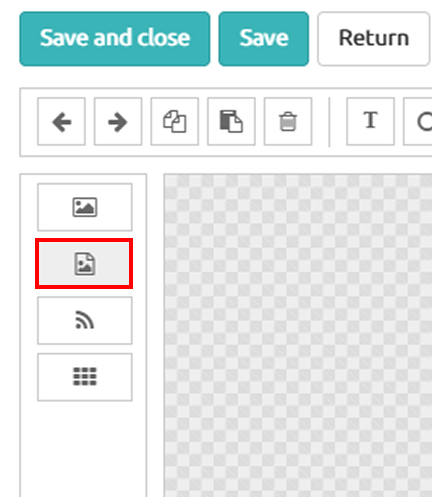
Using this option, locate an image containing your company logo (properly edited and not excessively large, such as a 1920×1080 image) on your computer and insert it into the Frame.
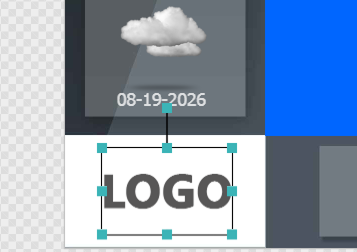
You can delete the sample logo element from the Frame by pressing the Delete key on your keyboard while the sample logo is selected.
After that, simply select the new logo added to the Frame and reposition and resize it so that it fits correctly in the desired area.
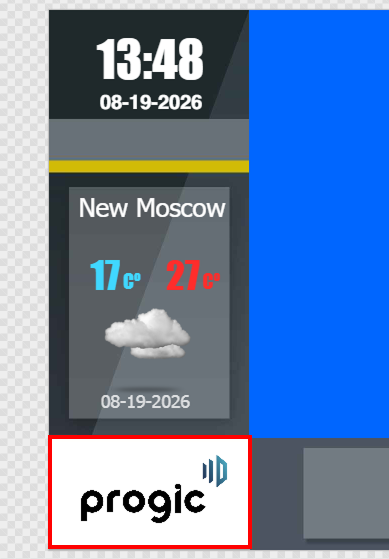
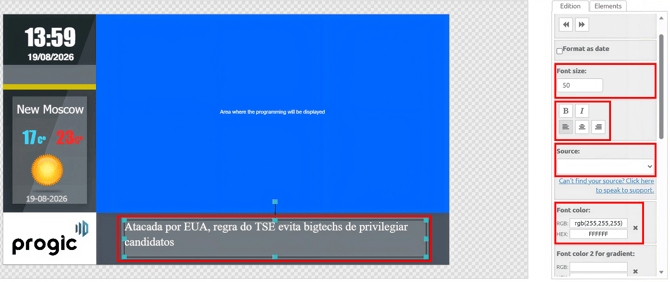
At the bottom of the Frame, where news headlines are displayed, you can also resize the text and change the font. To do this, select the text element located in the footer of the Frame and, in the right-hand Creative panel, modify the settings:
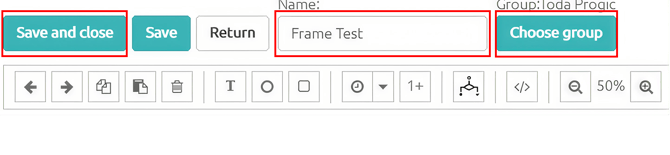
After completing this basic customization, you can save the Frame to your Manager account for use in Scheduling. To do so, give the Frame a name, select the Group where it will be available for viewing (if the Frame should be displayed on all Progic Players, leave the Group set to All), and then click Save and Close.
Applying a Frame to a Channel
A default Frame can be assigned to a Channel so that all scheduled content is displayed inside that configured Frame. To configure a default Frame for an entire Channel, follow these steps:
- Click the Channels tab, select the desired Channel, and click the +Actions icon, then Configure Scheduling.
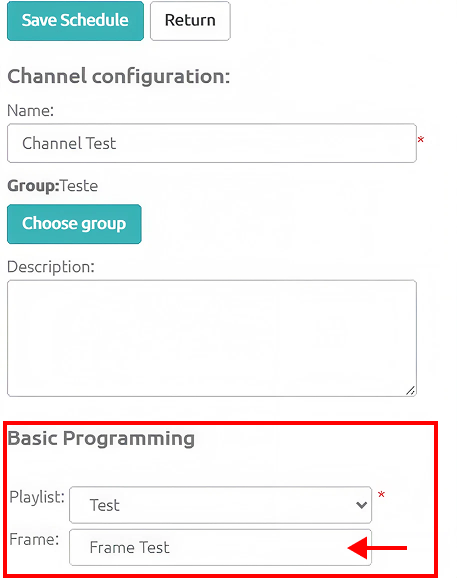
- In the window that opens, under Basic Scheduling, click the field next to the word Frame and select the desired Frame for that Channel.
- Click Save Scheduling and Close.
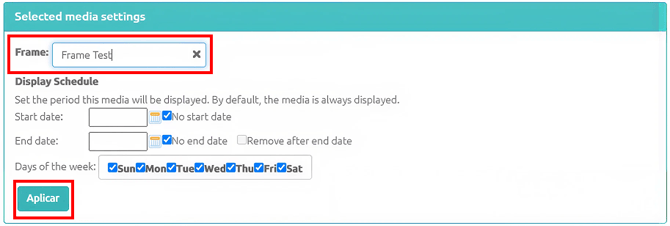
- In Playlists, select a Playlist and, under +Actions, click Edit.
- Select a Template used in that Playlist and, in the field below labeled Frame (the default option is Use from Scheduling), select the new Frame previously created in Manager and then click Apply.
Applying a Frame to a Template or Video in a Playlist
Frames can be assigned to a Channel, but they can also be assigned directly to Templates or Videos within a Playlist.
To change the Frame assigned to a Template in a Playlist:
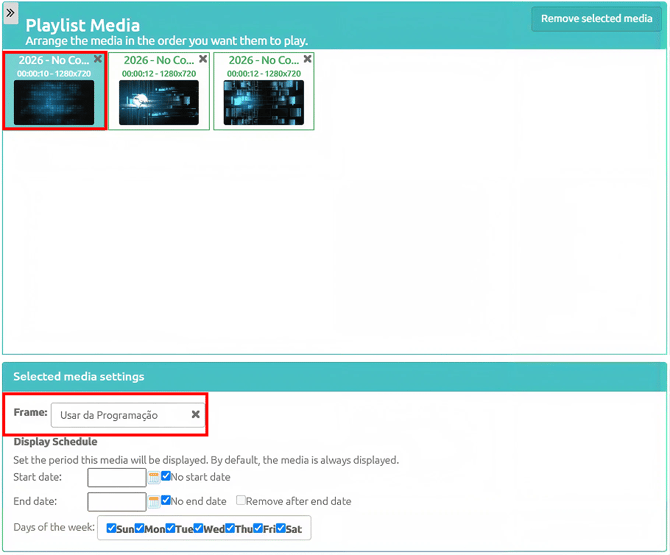
You can identify that a Frame has been assigned directly to a Template by the icon displayed next to it within the Playlist: