
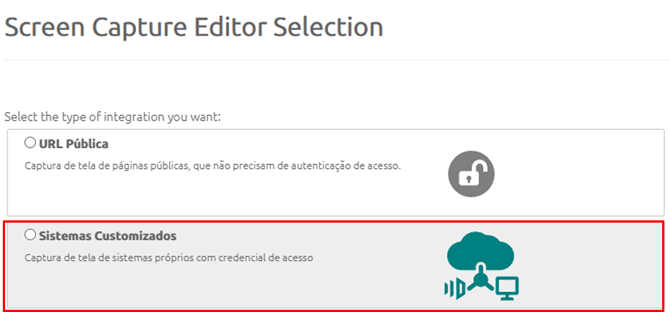
To access this feature, go to the tab Contents > Sections > Add Section > ScreenCapture > Custom Systems (Sistemas Customizados)
On the Screen Capture Section configuration screen, you must configure the fields below:
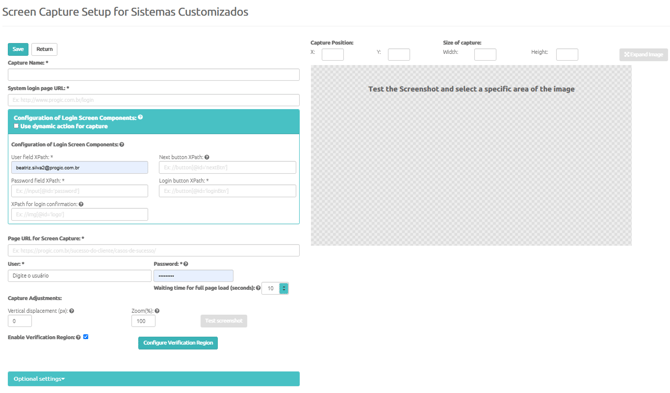
Capture Name: Name of the Screen Capture Section.
System Login Page URL: Link to the system login page. This screen contains the username field, password field, and login button.
Screen Capture Page URL: Link to the page that will be captured and displayed.
Username: username registered in the selected integration (required for pages with authenticated access).
Password: password registered in the selected integration (required for pages with authenticated access). Please note that the password is stored in encrypted form.
Page Load Time: Required waiting time for all components on the screen to be fully loaded before the capture is taken. You can verify in the captured image whether all elements (images, charts, etc.) are displayed correctly using the configured time.
Login Screen Component Configuration: All components on the login page must be identified using XPath, which is a syntax used to identify elements in XML documents. (You can use the xPath Finder extension in the Google Chrome browser to identify element XPaths. After installing the extension, activate it by clicking its icon and then click the field from which you want to extract the XPath. The extension will display the information at the bottom of the screen. If you have any questions about how to extract XPath from your page, contact our support team so that we can assist and guide you through the process.)
The following login screen components must be configured:
Username Field XPath: enter the XPath of the field where the username or login will be entered to access your system.
Password Field XPath: enter the XPath of the field where the password will be entered to access your system.
Login Button XPath: enter the XPath of the button that performs the login/access to your system.
Login Confirmation XPath: enter the XPath of any element on your system's main screen (for example: menu, logo) that appears after login, to verify that authentication was successful. This field is not mandatory and serves only as an additional validation when your system provides login confirmation.
Next Button XPath: if the login screen includes a "Next" button, fill in this field with the XPath of that button. This field is not mandatory, and is only used for platforms where the username appears on one screen and the password on another, requiring the user to click a "Next" button before the password field and the "Sign In" or "Login" button become available.
After entering all the required information, the ‘Test Screen Capture’ button will be displayed. When you click this button, a screen capture will be generated so you can select the position and dimensions of the image crop. You can also enlarge the image (using the button available above the captured image) to make the capture area selection easier and more precise.